This article was written by contributing author Janik Alheit, and is used by permission from the original at PhotographingSpace.com.
When it comes to my style of photography, preparation is a key element in getting the shot I want.
On this specific day, we were actually planning on only shooting the low Atlantic clouds coming into the city of Cape Town. This in itself takes a lot of preparation as we had to keep a close eye on the weather forecasts for weeks using Yr.no, and the conditions are still unpredictable at best even with the latest weather forecasting technology.
We set out with cameras and camping gear with the purpose of setting up camp high up on Table Mountain so as to get a clear view over the city. The hike is extremely challenging at night, especially with a 15kg backpack on your back! We reached our campsite at about 11pm, and then started setting up our cameras for the low clouds predicted to move into the city at about 3am the next morning. For the next 2 hours or so we scouted for the best locations and compositions, and then tried to get a few hours of sleep in before the clouds arrived.
At about 3am I was woken up by fellow photographer Brendon Wainwright. I realised that he had been up all night shooting timelapses, and getting pretty impressive astro shots even though we were in the middle of the city. I noticed that the clouds had rolled in a bit earlier than predicted and had created a thick blanket over the city, which was acting as a natural light pollution filter.
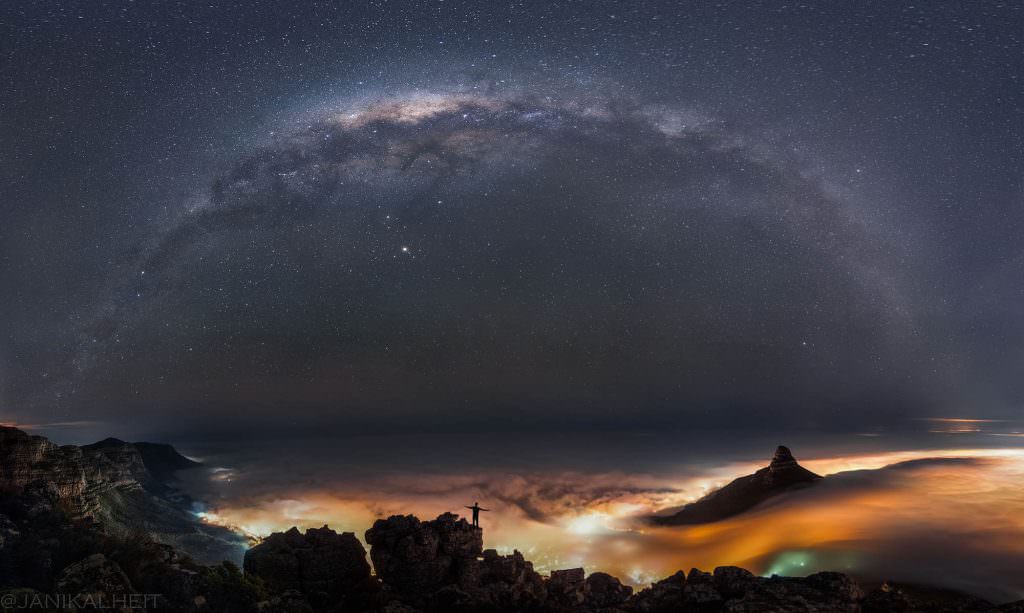
I looked up at the skies and for the first time in my life I was able to see the core of the Milky Way in the middle of the city! This is when everything changed, the mission immediately became an astrophotography mission, as these kind of conditions are extremely rare in the city.

Composition
After shooting the city and clouds for a while, I turned my focus to the Milky Way. I knew I was only going to have this one opportunity to capture an arching Milky Way over a city covered with clouds, so I had to work fast to get the perfect composition before the clouds changed or faded away.
I set my tripod on top of a large rock that gave me a bit of extra height so that I could get as much of the city lights in the shot as possible. The idea I had in my mind was to shoot a panorama from the center of the city to the Twelve Apostles Mountains in the southwest. This was a pretty large area to cover, plus the Milky Way was pretty much straight above us which meant I had to shoot a massive field of view in order to get both the city and the Milky Way.
The final hurdle was to get myself into the shot, which meant that I had to stand on a 200m high sheer cliff edge! Luckily this was only necessary for one frame in the entire panorama.
Gear and settings
I usually shoot with a Canon 70D with an 18mm f/3.5 lens and a Hahnel Triad 40Lite tripod. This particular night I forgot to bring a spare battery for my Canon and by the time I wanted to shoot this photo, my one battery had already died!
Luckily I had a backup camera with me, an Olympus OMD EM10 mirrorless camera. I had no choice but to use this camera for the shot. The lens on that camera was an Olympus M.Zuiko 14-42mm f/3.5 kit lens, which was not ideal, but I just had to make it work.
I think this photo is a testament to the fact that your gear is not nearly as important as your technique and knowledge of your surroundings and your camera.
I started off by shooting the first horizontal line of photos, in landscape orientation, to form the bottom edge of the final stitched photo. From there I ended up shooting 6 rows of 7 photos each in order to capture the whole view I wanted. This gave me 42 photos in total.
For the most part, my settings were 25 seconds, f/3.5, ISO 2000, with the ISO dropped on a few of the pictures where the city light was too bright. I shot all the photos in raw as to get as much data out of each frame as possible.
Editing
Astrophotography is all about the editing techniques.
In this scenario I had to stitch 42 photos into one photo. Normally I would just use the built-in function in Lightroom, but in this case I had to use software called PTGui Pro, which is made for stitching difficult panoramas. This software enables me to choose control points on the overlapping images in order to line up the photos perfectly.
After creating the panorama in PTGui Pro, I exported it as a TIFF file and then imported that file into Lightroom again. Keep in mind that this one file is now 3GB as it is made up of 42 RAW files!
In Lightroom I went through my normal workflow to bring out the detail in the Milky Way by boosting the highlights a bit, adding contrast, a bit of clarity, and bringing out some shadows in the landscape. The most difficult part was to clear up the distortion that was caused by the faint clouds in the sky between individual images. Unfortunately it is almost impossible to blend so many images together perfectly when you have faint clouds in the sky that form and disappear within minutes, but I think I did the best job I could to even out the bad areas.

A special event
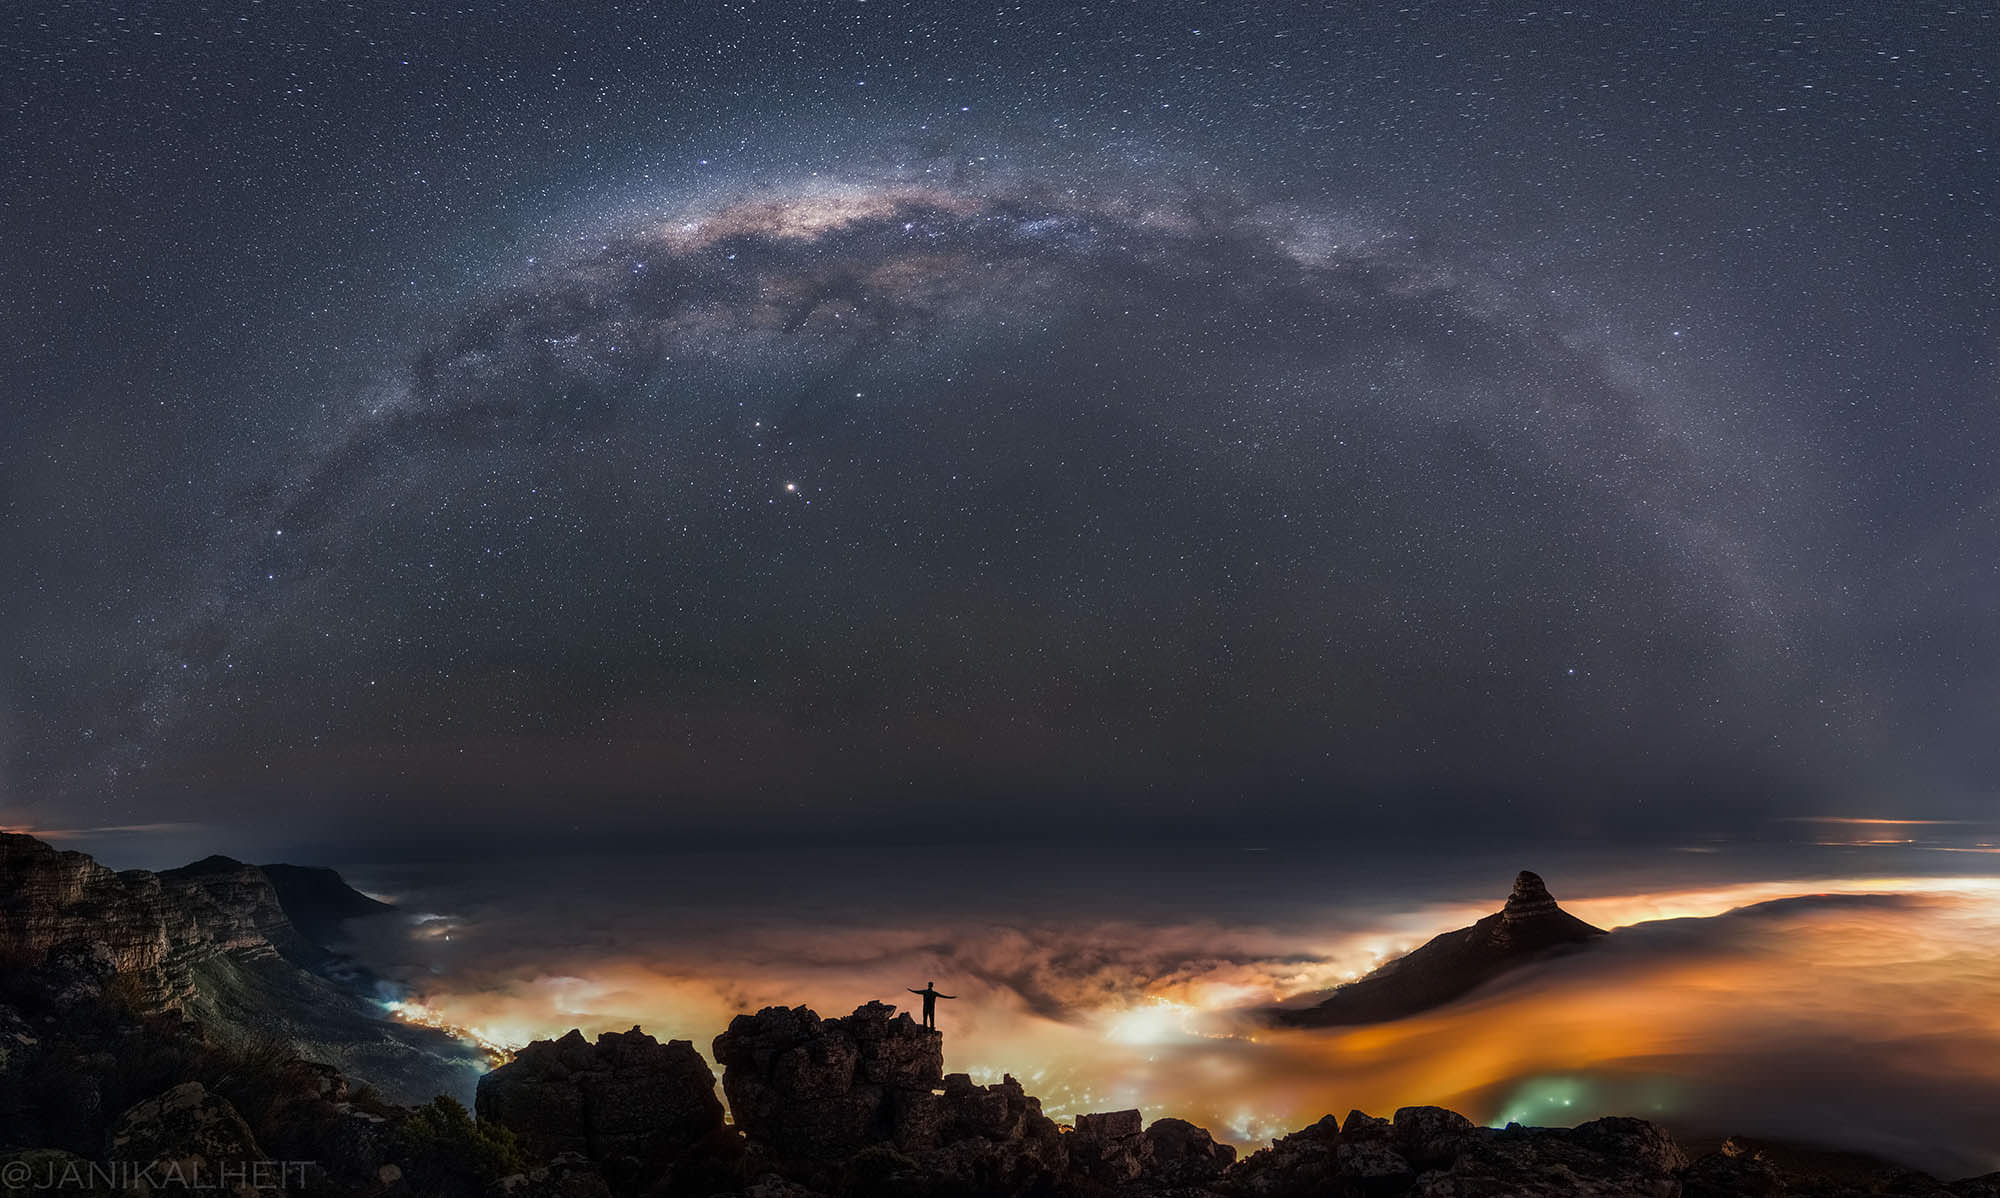
After the final touches were made and the photo was complete, I realized that I had captured something really unique. It’s not every day that you see low clouds hanging over the city, and you almost never see the Milky Way so bright above the city, and I managed to capture both in one image!
The response to the image after posting it to my Instagram account was extremely overwhelming. I got people from all over the world wanting to purchase the image and it got shared hundreds of time across all social media.
It just shows you that planning and dedication does pay off!

