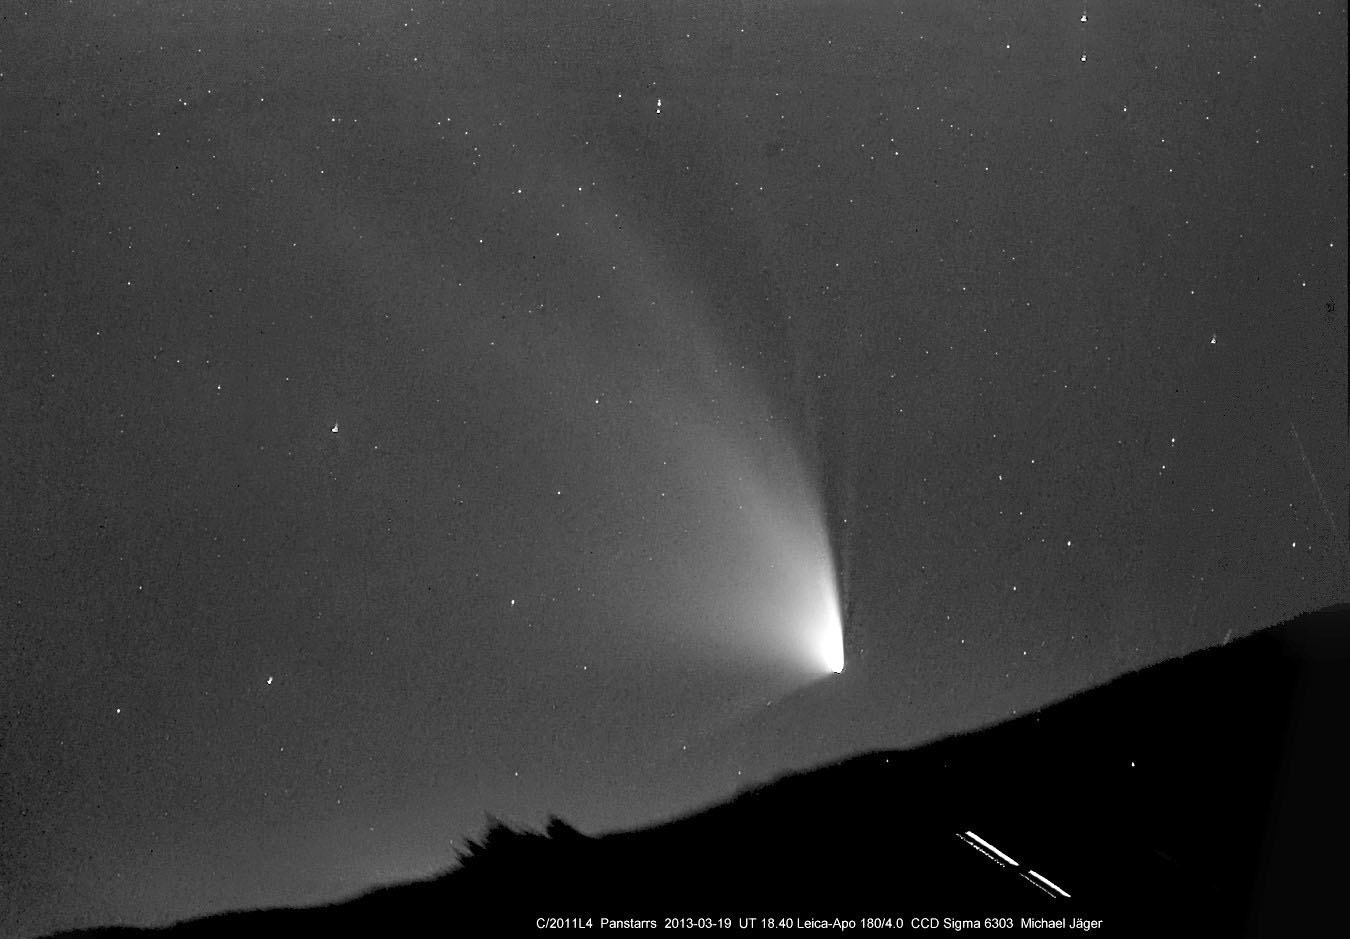
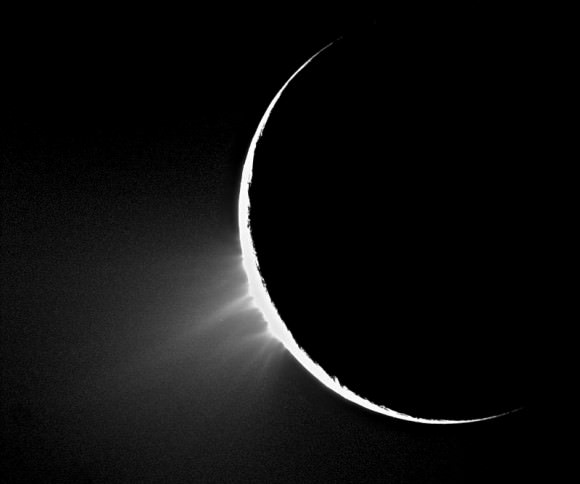
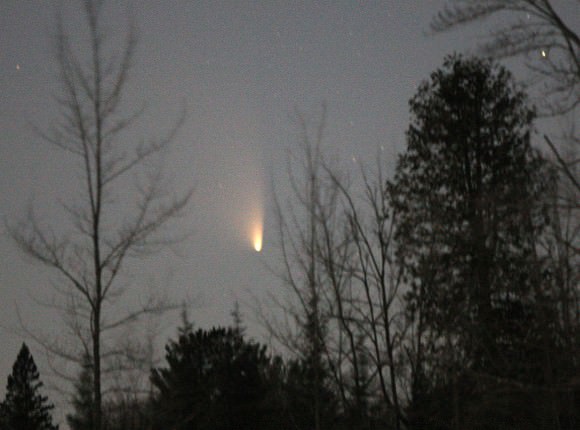
Wow – what an image! Michael Jaeger’s photo of Comet C/2011 L4 PANSTARRS on March 19 resembles those taken by the orbiting Stereo-B spacecraft. Check out this video (and the one below) to see what I mean. Most observers using binoculars and telescopes are seeing the comet’s head, bright false nucleus and a single plume-like tail.
Careful photography like Jaeger’s reveals so much more – two bright, broad dust tails and three shorter spikes. One of the dust tails peels off to the left of the comet’s head, the other extends upward feather-like before splitting into two separate streamers. There are also several narrow, spike-like tails due to various excited elements and gas emissions from the comet’s icy nucleus.
Video of Comet PANSTARRS made from pictures taken by NASA’s STEREO-B spacecraft on March 13, one of two spacecraft that orbit ahead and behind Earth monitoring solar activity on the sun’s farside.
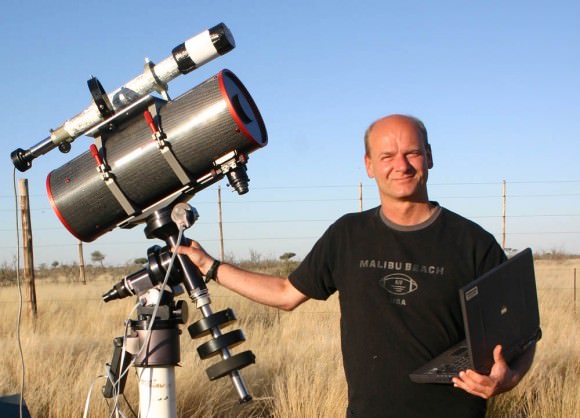
Michael Jaeger of Austria has been shooting pictures of comets since 1982. His images always reveal details that entice visual observers to go out and look for more than what first meets the eye. Last night I got my first look at the comet through a telescope and was delighted at the sight of its smooth, luminous tail and brilliant yellow false-nucleus. The false nucleus is the bright spot visible in the center of the PANSTARRS’ head; in 10×50 binoculars it looks like a star. Through a telescope it’s a fuzzy, yellow pea. Buried deep within the false nucleus is the icy comet nucleus itself, vaporizing in the sun’s heat and shrouded by its own dust.
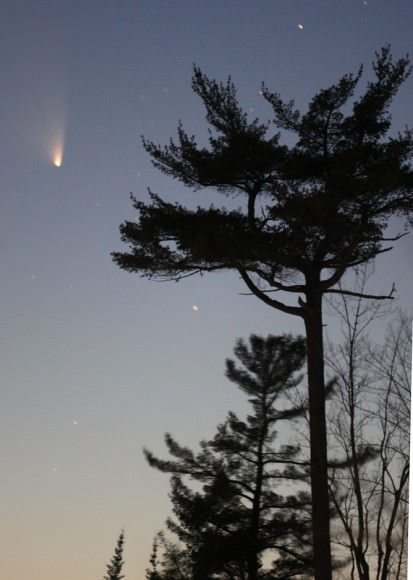
The comet has faded in the past week or two from 1st magnitude – equal to some of the brightest stars – to about magnitude 2.5 or somewhat fainter than the stars of the Big Dipper. In very clear skies, it was still dimly visible with the naked eye about 40 minutes after sunset low in the northwestern sky. I only knew where to look after first finding the comet in 10×50 binoculars. The tail points straight up and stretches nearly 2 degrees in length once the sky gets dark enough to increase contrast and before PANSTARRS sinks too low. I kept it in view for nearly an hour from a wind-whipped location north of Duluth, Minn.
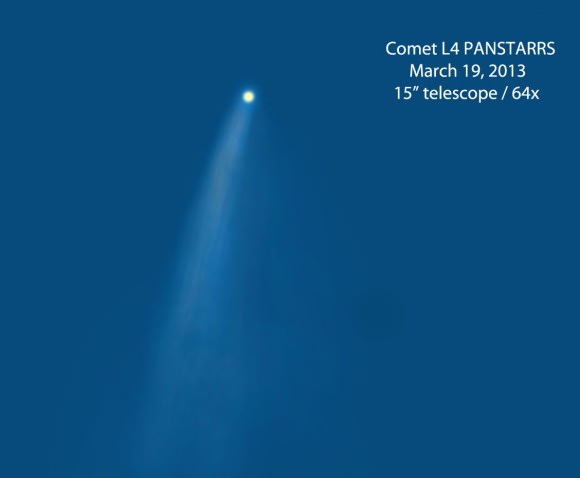
Through the telescope the nucleus blazed yellow from sunlit dust. Set inside the comet’s sleek, smooth head it reminded me of a lighthouse beacon shining through the mist. Gorgeous! The tail trailed bent back to the northeast with a slight arc. I highly recommend setting up your telescope for a look at PANSTARRS, if for no other reason than to see the beauty of the false-nucleus within the finger-like tail.
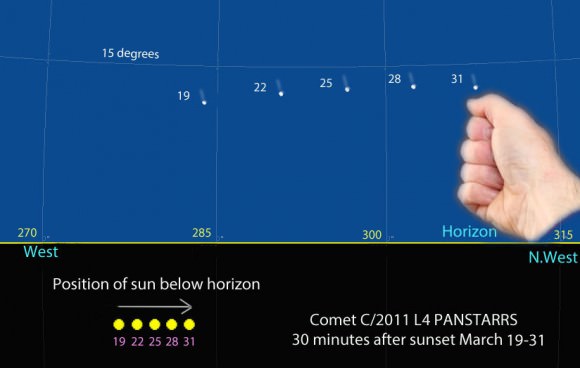
You can use the chart to help you find the comet for the remainder of the month. It shows the comet’s position every 3 days now through March 31 from mid-northern latitudes, specially 42 degrees north (Chicago, Ill.). If you live in the northern U.S., the comet will be in approximately the same positions but slightly higher in the sky; in the southern U.S. it will be a little lower. Notice the “15 degree” altitude line. If you set the bottom of your fist flat on the horizon, the 15 degree line is a fist and a half above that level.
Boulder Panstarrs from Patrick Cullis on Vimeo.
Time lapse video made by Patrick Cullis showing Comet PANSTARRS setting behind the Flatirons of Boulder, Col. on March 19. As you watch, notice how the comet appears against the sky background and the direction it moves toward the horizon – both clues to help you find it.
The map compensates for the sun rising later each night and shows the comet’s height above the horizon when the sun is 7.5 degrees below the horizon. 7.5 degrees corresponds to about 30 minutes after sunset. Notice that the sun moves northward (to the right) just like the comet does over the next couple weeks but more slowly.
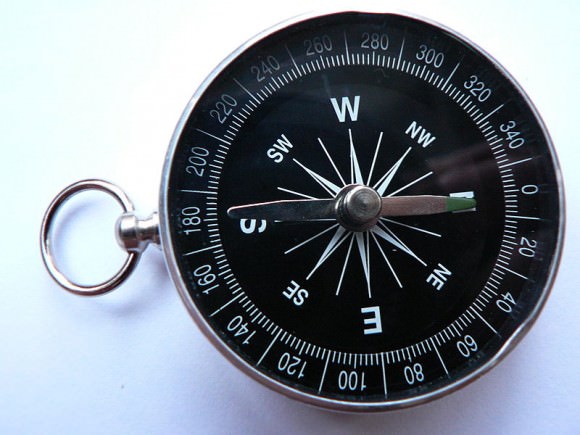
See those yellow numbers along the map’s horizon? Those are compass bearings called azimuths. If you have a compass, dig it out and give it a look. Every compass is marked in degrees of azimuth. 270 degrees is due west, 285 degrees is a fist and a half to the right of due west, 315 degrees is exactly halfway between due west and due north. North can be either 360 degrees or 0 degrees. Azimuths are simple way to subdivide directions to make them more precise.
The next time it’s clear, bring your binoculars and a compass (if needed) and find a location with a great view of the western sky preferably down to the horizon. Use the map along with the compass bearings to guide your eyes in the right direction. You can also use the sun’s position below the horizon to point you to the comet by angling up from the lingering glow at the sunset point. Remember to first focus your binoculars on the moon, cloud bank or star before attempting to find PANSTARRS. There’s nothing more frustrating than sweeping for a fuzzy comet with an out-of-focus instrument.

