In 1909 Robert Millikan devised an ingenious experiment to figure out the charge of an electron using a drop of oil. Let’s talk about this Nobel Prize winning experiment
Continue reading “Astronomy Cast Ep. 372: Millikan Oil Drop”
Turning Stars Into Art
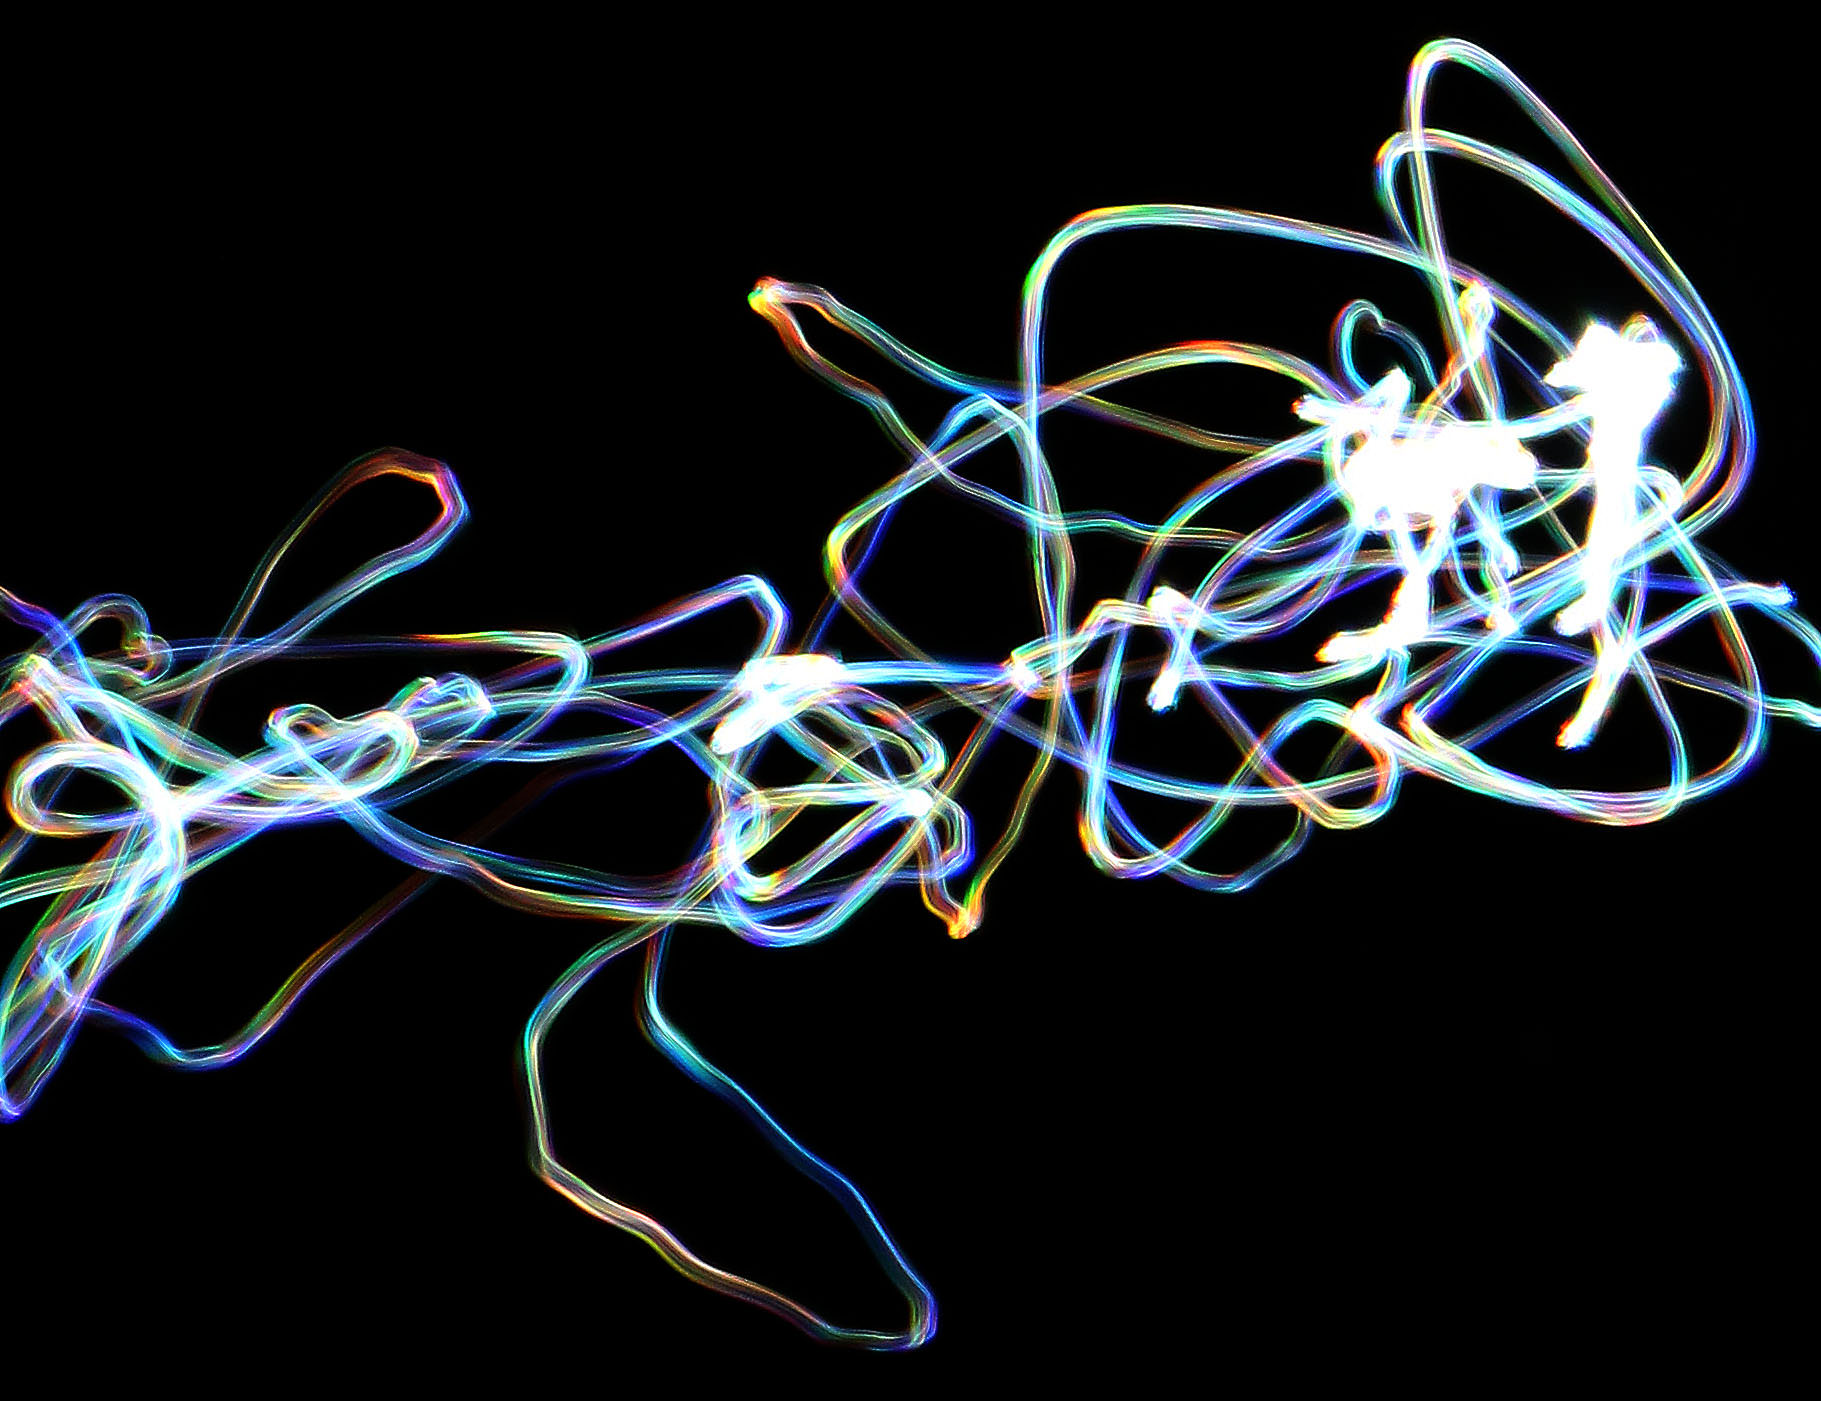
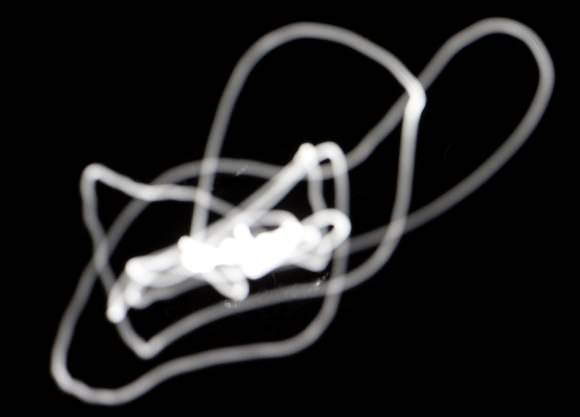
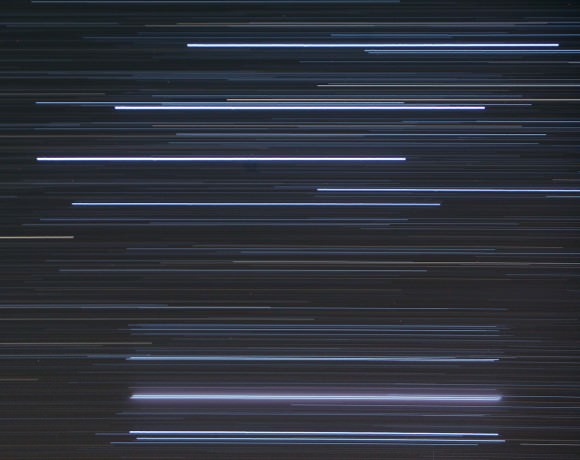
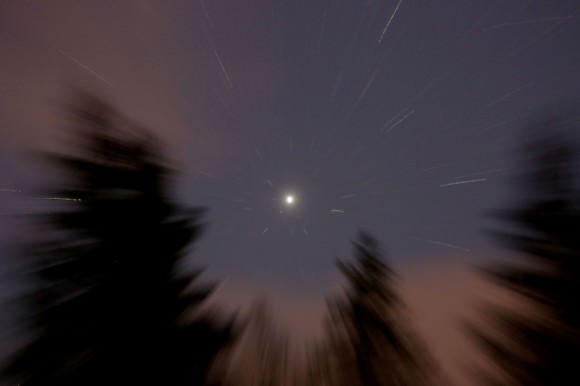
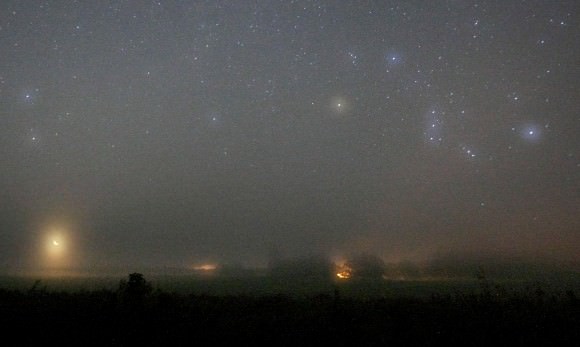
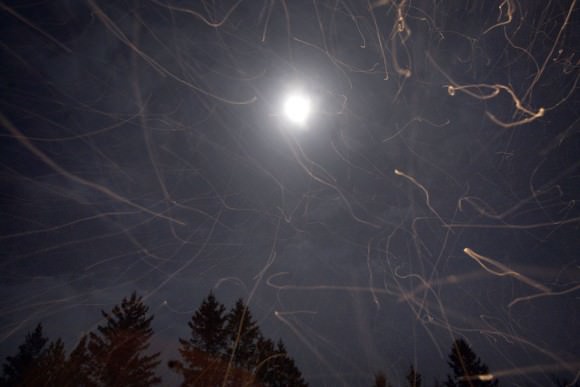
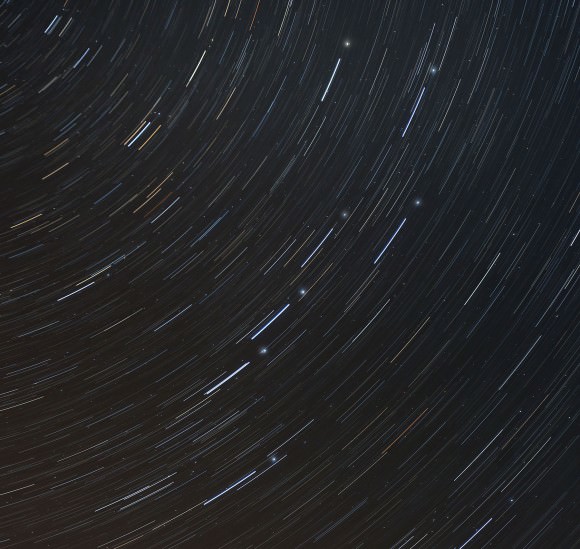
We all have cameras, and the sky’s an easy target, so why not have a little fun? Ever since I got my first camera at age 12 I wanted to shoot time exposures of the night sky. That and a tripod are all you need. Presented here for your enjoyment are a few oddball and yet oddly informative images of stars and planets. Take the word “art” loosely!
Watch the Aurora Shimmer and Dance in Real Time
I for one have never witnessed the northern lights in person, and like many people I experience them vicariously through the photography and videos of more well-traveled (or more polar-bound) individuals. Typically these are either single-shot photos or time-lapses made up of many somewhat long-exposure images. As beautiful as these are, they don’t accurately capture the true motion of this upper atmospheric phenomenon. But here we get a look at the aurora as it looks in real time, captured on camera by Jon Kerr from northern Finland. Check it out above or watch in full screen HD on YouTube.
The video was shot with a full-frame mirrorless Sony a7S. See more of Jon’s aurora videos on YouTube here.
Video credit: Jon Kerr. HT SunViewer on Twitter.
Completely Gorgeous Shot of the Milky Way Over Jasper National Park
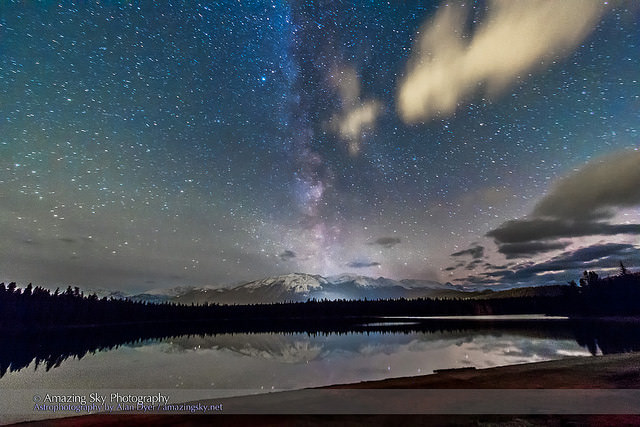
Does it get any more gorgeous than this? What an absolutely beautiful view of the night sky over Lake Annette and Whistler’s Mountain in Jasper National Park.
“I shot this at the Lake Annette Star Party, one of the Dark Sky Festival events, using the Canon 60Da and 10-22mm lens at 10mm f/4 and ISO 3200 for 1 minute, untracked,” said prolific astrophotographer Alan Dyer on Flickr. “Shot October 24, 2014, with fresh snow on Whistler across the lake and valley and on a calm night with still waters reflecting the stars.”
Absolutely spell-binding! Click on the image for larger versions on Flickr, and check out more of Alan’s stunning imagery on his website, Amazing Sky Photography.
#MilkyWayMonday
Want to get your astrophoto featured on Universe Today? Join our Flickr group or send us your images by email (this means you’re giving us permission to post them). Please explain what’s in the picture, when you took it, the equipment you used, etc.
Want to See Some Pretty Pictures? Here are the Winners of the 2014 Photo Nightscape Awards

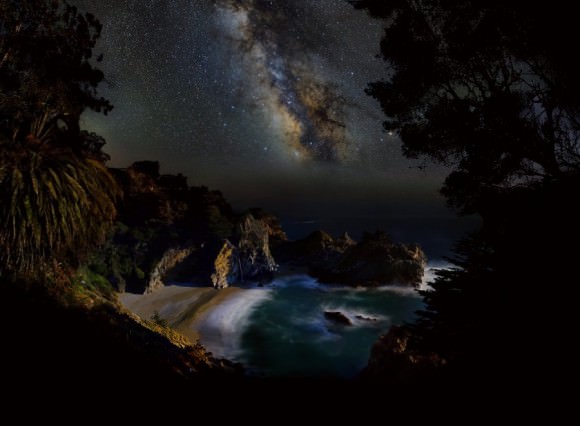
We told you earlier this year about an astrophotography contest held by Ciel et Espace Photos in France, called the Photo Nightscape Awards. This is the first year of the competition and the winners have now been announced — and they are gorgeous!
They had two categories: pro and ‘espoir’ (amateur, or literally, ‘hope,’) and more than 100 photographers from around the world participated. Above is the winning entry for the pro category, a wonderful shot of a geyser field located in the Andes Mountains of northern Chile with a beautiful night sky overhead, taken by Jean-Marc Lecleire.
See a video compilation of the winners and other submissions, below, along with more beautiful images:
The organizers of the contest said they are looking for “astrophotography that mixes photographic art and poetry. The judge for the contest was Miguel Claro, whose astrophotography we feature often here on Universe Today.
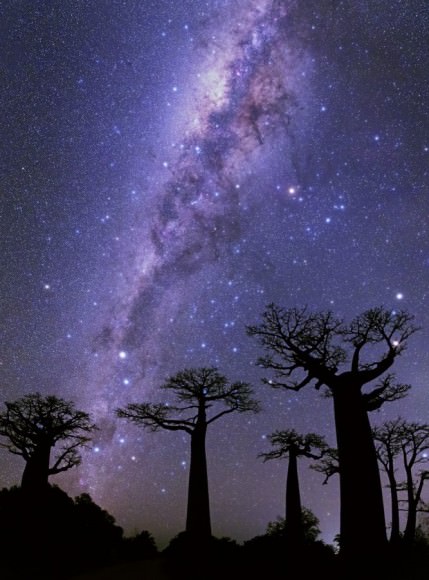
Other winners were 1st prize ‘Pro’: Tommy Eliassen; 2nd prize ‘Pro’: Mohammad Taha Ghouchkanlu for the “Baobabs” image, below; 1st prize ‘Espoir’: Pascal Colas; 2nd prize ‘Espoir’: Jérémy Gachon; 1st prize in young astronomers 9-12 group was Louis-Hadrien Gros and 2nd 9-12 was Justin Galant. 1st prize in the young astronomers 13-17 group was Tess Gautier, 2nd prize ’13-17.
You can see all the winning photos at the website here, where you can also learn about next year’s competition.
How to Take Great Pictures of the Northern Lights
Everybody loves pictures of the northern lights! If you’ve never tried to shoot the aurora yourself but always wanted to, here are a few tips to get you started.
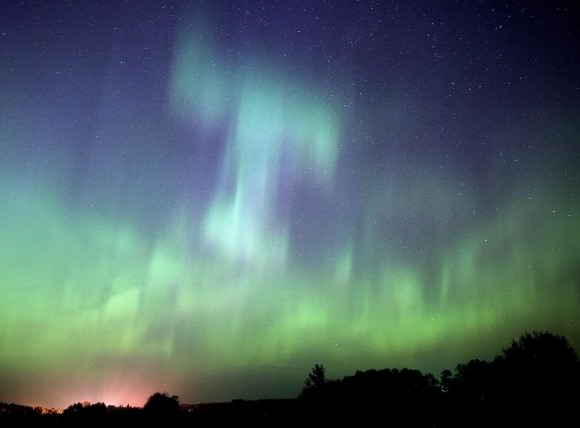
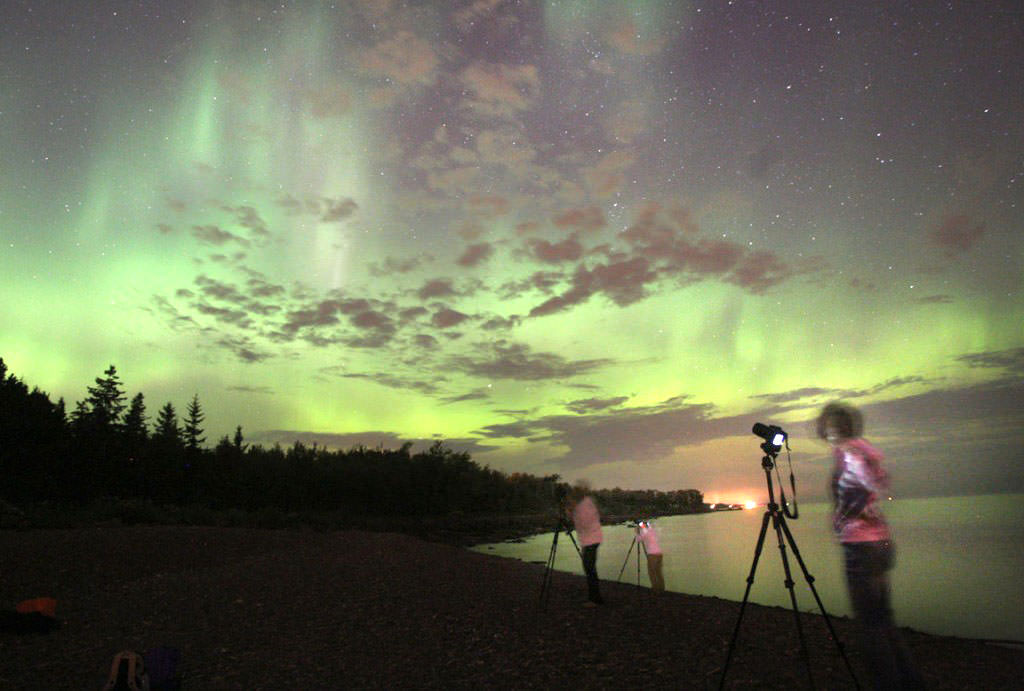
The strong G3 geomagnetic storm expected tonight should kick out a reasonably bright display, perfect for budding astrophotographers. Assuming the forecasters are correct, you’ll need a few things. A location with a nice open view to the north is a good start. The aurora has several different active zones. There are bright, greenish arcs, which loll about the northern horizon, parallel rays midway up in the northern sky and towering rays and diffuse aurora that can surge past the zenith. Often the aurora hovers low and remains covered by trees or buildings, so find a road or field with good exposure.
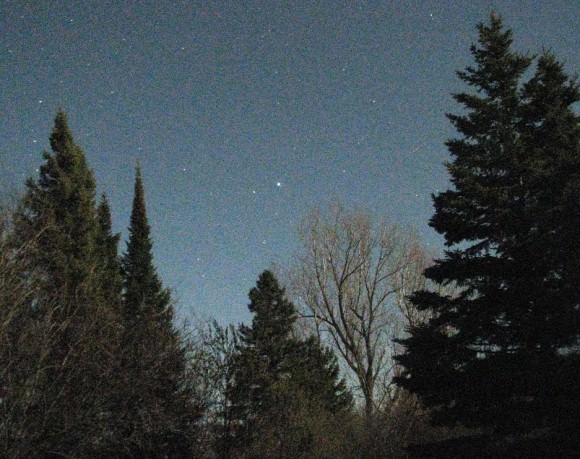
Second, a tripod. You can do so much with this three-legged beast. No better astro tool in the universe. Even the brightest auroras will require a time exposure of at least 5 seconds. Since no human can be expected to hold a camera steady that long, a tripod is a necessity. After that, it comes down to a camera. Most “point-and-shoot” models have limited time exposure ability, often just 15 seconds. That may be long enough for brighter auroras, but to compensate, you’ll have to increase your camera’s sensitivity to light by increasing the “speed” or ISO. The higher you push the ISO, the grainier the images appear especially with smaller cameras. But you’ll be able to get an image, and that may be satisfaction enough.
I use a Canon EOS-1 Mark III camera to shoot day and night. While not the latest model, it does a nice job on auroras. The 16-35mm zoom wide-angle lens is my workhorse as the aurora often covers a substantial amount of sky. My usual routine is to monitor the sky. If I see aurora padding across the sky, I toss the my equipment in the car and drive out to one of several sites with a clear exposure to the north. Once the camera meets tripod, here’s what to do:
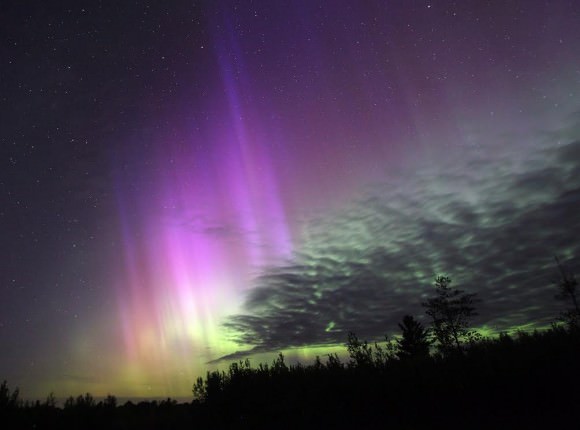
* Focus: Put the camera in manual mode and make sure my focus is set to infinity. Focusing is critical or the stars will look like blobs and the aurora green mush. There are a couple options. Use autofocus on a cloud or clouds in the daytime or the moon at night. Both are at “infinity” in the camera’s eye. Once focused at infinity, set the camera to manual and leave it there the rest of the evening to shoot the aurora. OR … note where the little infinity symbol (sideways 8) is on your lens barrel and mark it with a thin sharpie so you can return to it anytime. You can also use your camera in Live View mode, the default viewing option for most point-and-shoot cameras where you compose and frame live. Higher-end cameras use a viewfinder but have a Live View option in their menus. Once in Live View, manually focus on a bright star using the back of the camera. On higher-end cameras you can magnify the view by pressing on the “plus” sign. This allows for more precision focus.
* Aperture: Set the lens to its widest open setting, which for my camera is f/2.8. The lower the f-stop number, the more light allowed in and the shorter the exposure. Like having really big pupils! You want to expose the aurora in as short a time as possible because it moves. Longer exposures soften its appearance and blur exciting details like the crispness of the rays.
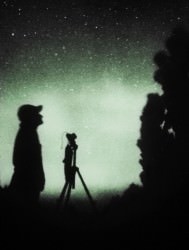
* ISO speed: Set the ISO to 800 for brighter auroras or 1600 for fainter ones and set the time to 30-seconds. If the aurora is bright and moving quickly, I’ll decrease exposure times to 10-15 seconds. The current crop of high end cameras now have the capacity to shoot at ISOs of 25,000. While those speeds may not give the smoothest images, dialing back to ISO 3200 and 6400 will make for photos that look like they were shot at ISO 400 on older generation cameras. A bright aurora at ISO 3200 can be captured in 5 seconds or less.
* Framing: Compose the scene in the viewfinder or monitor. If you’re lucky or plan well, you can include something interesting in the foreground like a building, a picturesque tree or lake reflection.
* Press!: OK, ready? Now press the button. When the image pops up on the viewing screen, does the image seem faint, too bright or just right. Make exposure adjustments as needed. If you need to expose beyond the typical maximum of 30 seconds, you can hold the shutter button down manually or purchase a cable release to hold it down for you.
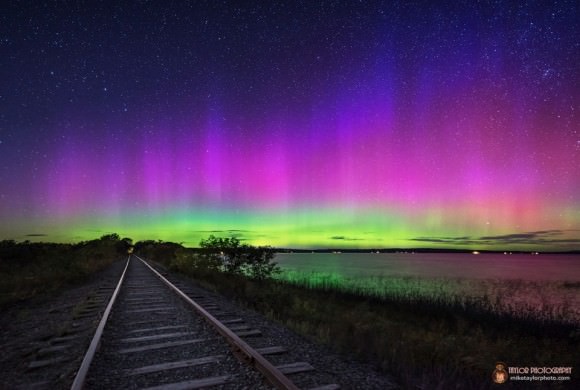
It’s easy, right? Well then, why did it take me 400 words to explain it??? Of course the magic happens when you look at the monitor. You’ll see these fantastic colorful forms and ask yourself “did I do that?”
Have fun and good luck in your photography.
Enjoy This Eye-Meltingly Awesome Photo of Our Sun
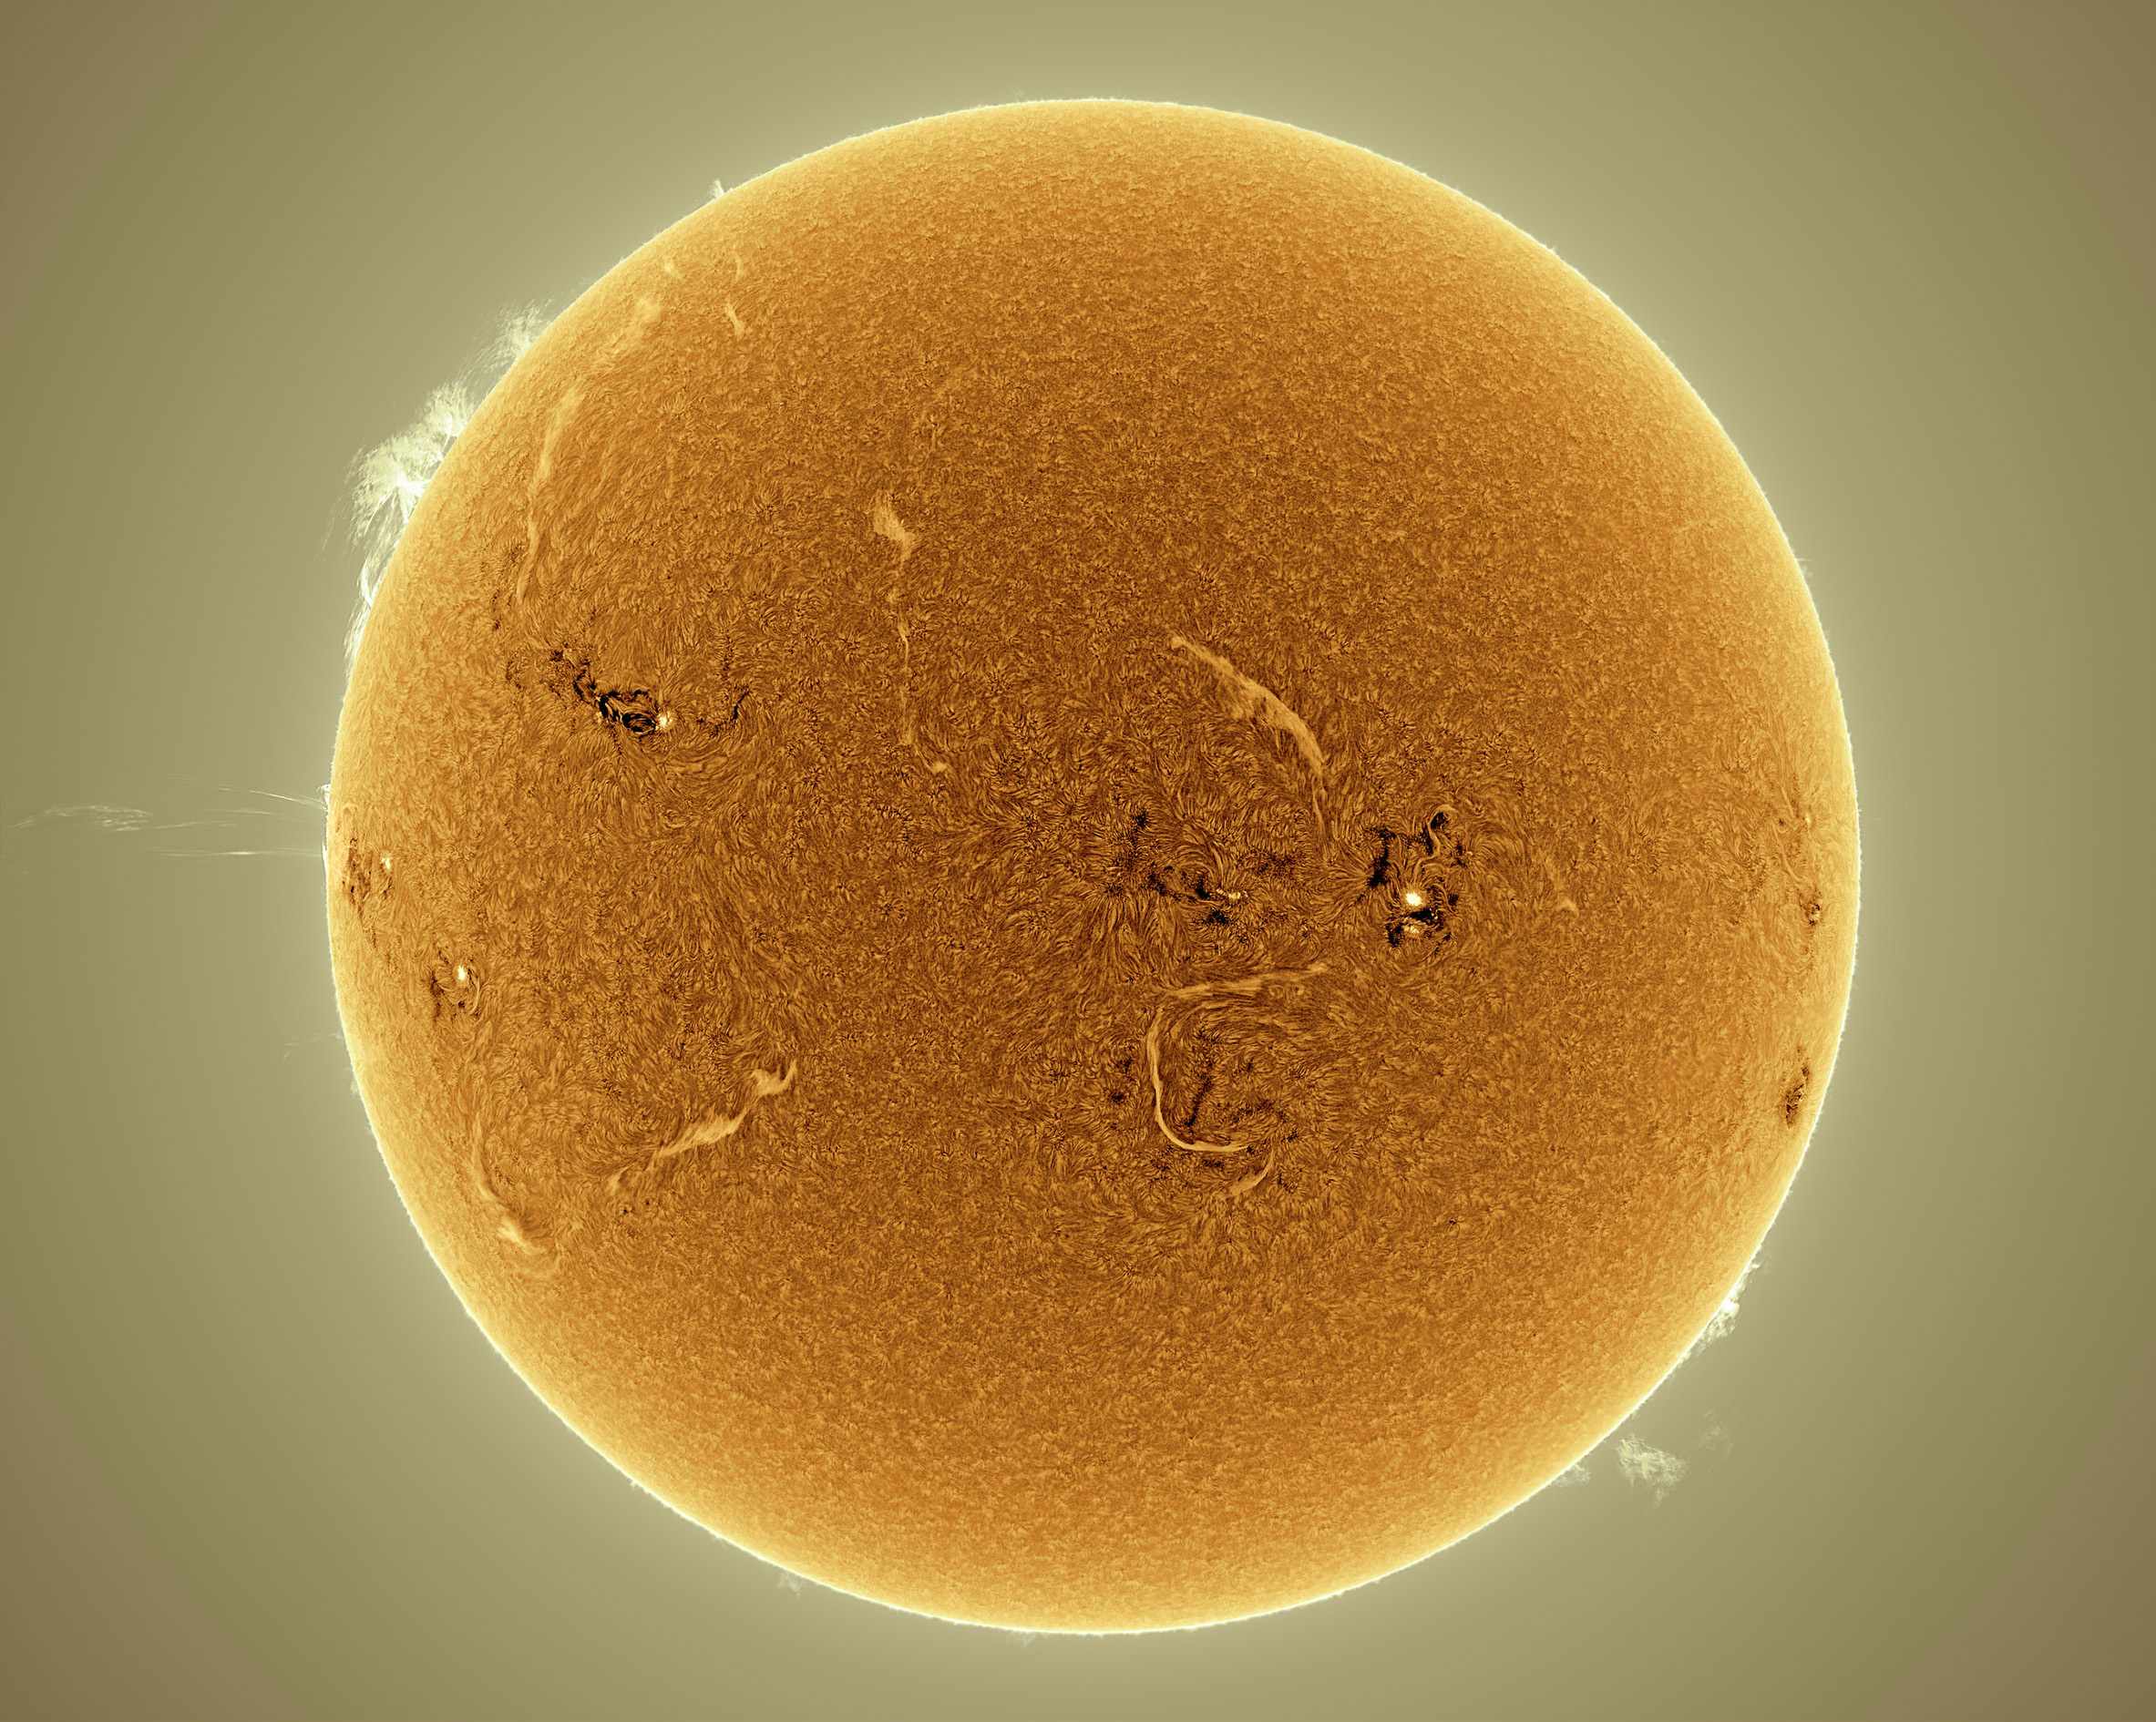
Here’s yet another glorious photo of our home star, captured and processed by New York artist and photographer Alan Friedman on August 24, 2014. Alan took the photo using his 90mm hydrogen-alpha telescope – aka “Little Big Man” – from his backyard in Buffalo, inverted the resulting image and colorized it to create the beautiful image above. Fantastic!
Hydrogen is the most abundant element in our Sun. The “surface” of the Sun and the layer just above it — the photosphere and chromosphere — are regions where atomic hydrogen exists profusely in upper-state form, and it’s these layers that hydrogen alpha photography reveals in the most detail.
In Alan’s image from Aug. 24 several active sunspot regions can be seen, as well as long snaking filaments (which show up bright in this inverted view – in optical light they appear darker against the face of the Sun) and several prominences rising up along the Sun’s limb, one of which along the left side stretching completely off the frame a hundred thousand miles into space!
Click here to see the image above as well as some close-ups from the same day on Alan’s astrophotography website AvertedImagination.com. And you can learn more about how (and why) Alan makes such beautiful images of our home star here.
Photo © Alan Friedman. All rights reserved.
Chris Hadfield Explains Photography from Space
After Canadian astronaut Chris Hadfield arrived at the International Space Station in December 2012, he quickly became an internet sensation with all the tweets, Facebook and G+ posts he shared providing in inside look at living and working in space. But the biggest draw is all the incredible images he has shared throughout his ISS mission. In this video, Hadfield takes you to the best seat in the house – the Cupola on the ISS — to gaze at the visual splendor of the Earth. He shares his techniques and his passion for capturing the fleeting glimpses of our changing world.
UPDATE: NASA also chimed in for Earth Day with this video from astronaut Don Pettit sharing his images and tips for photography of Earth from space:
Another Amazing Earth View: The Andes Under a Blue Pacific Fog
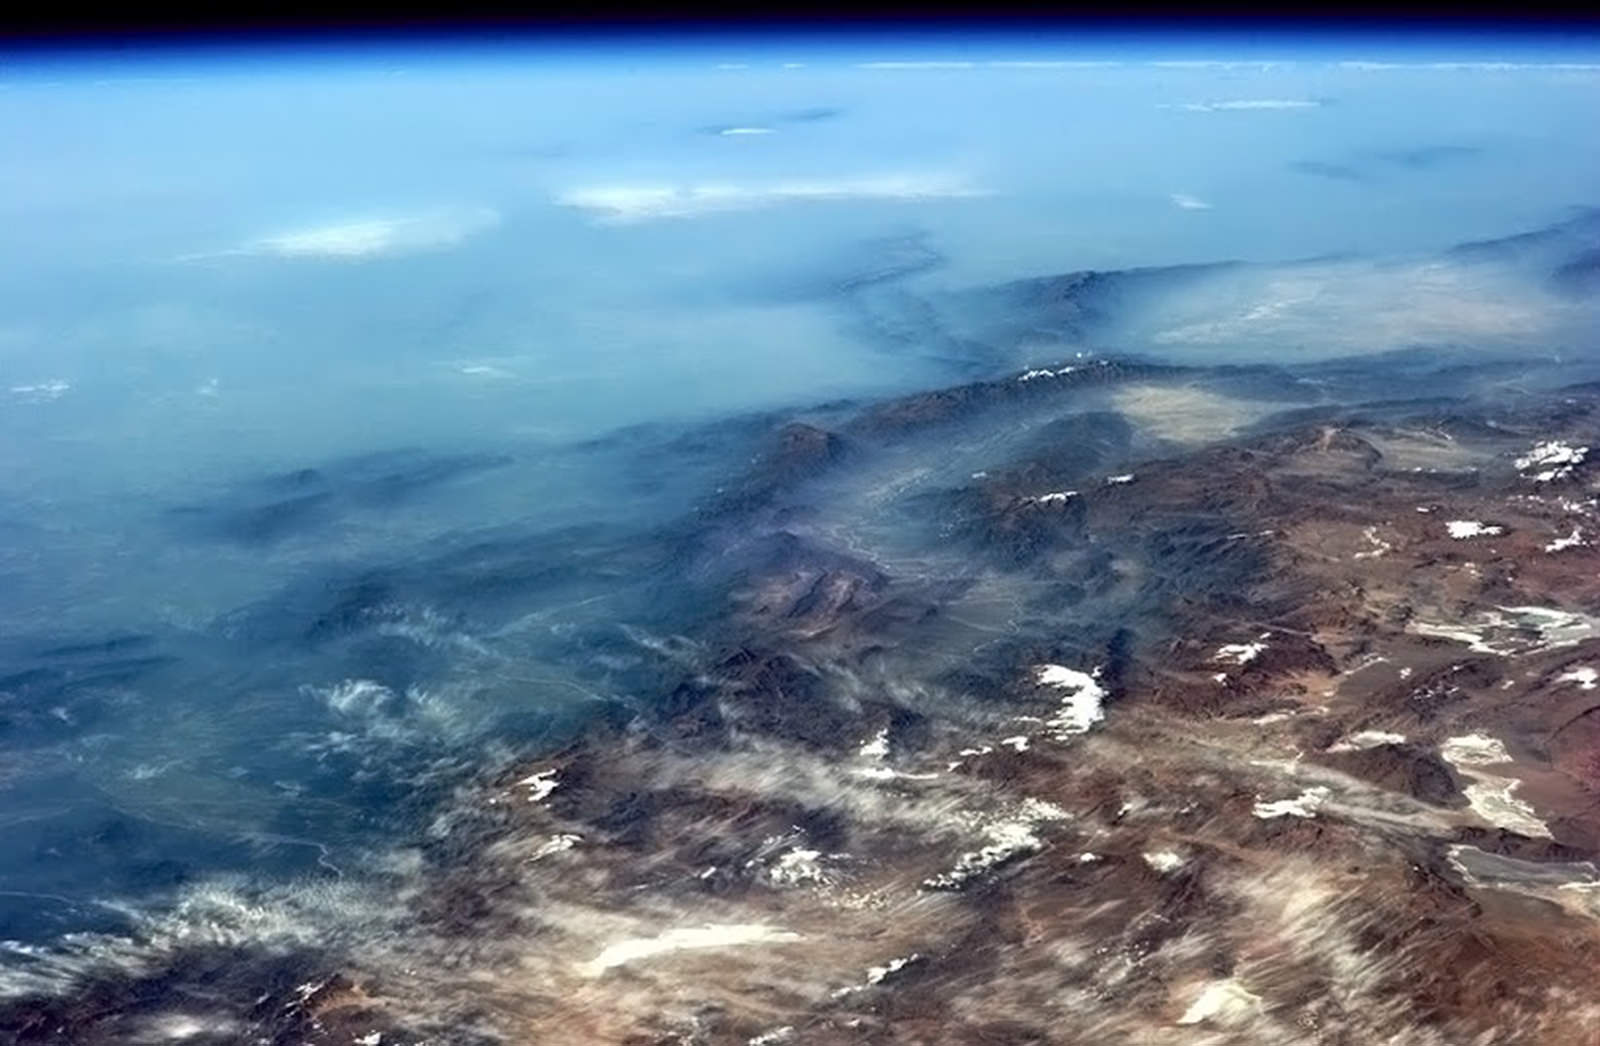
View of the Andes from the ISS on Feb. 4, 2013 (NASA)
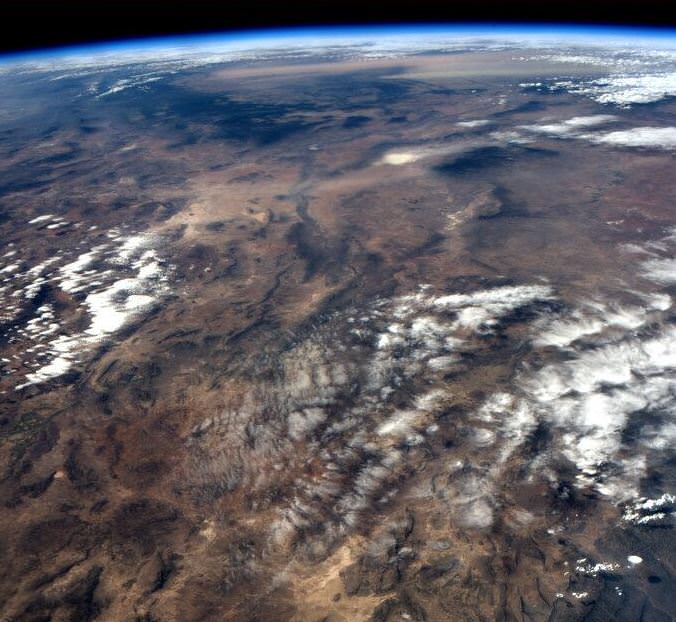
Even though he’s a busy guy, Expedition 34 astronaut Chris Hadfield still takes the time to share some of his amazing views from orbit aboard the ISS. One of his most recent photos is this stunning view of Andean ridges rising up from a blue haze of Pacific fog, the arc of Earth’s horizon in the distance. Gorgeous! (Edit: according to a labeled image by Peter Caltner, this is looking southeast into northern Argentina – no Pacific in view. So the haze is coming from the valley, not the ocean.)
Shared on Twitter at 6:25 p.m. EST, this has quickly become one of Hadfield’s more popular images — and for good reason. In fact sometimes it’s hard to keep up with this high-flying Canadian, who easily posts half a dozen or more photos from all across the world every day on Twitter, Facebook, and his Google+ profile (which is managed by his son Evan.) But since the ISS goes around the globe 16 times a day, there’s certainly no shortage of sights for Chris and the Exp. 34 crew!
Check out a few more of Chris Hadfield’s recent photos below:
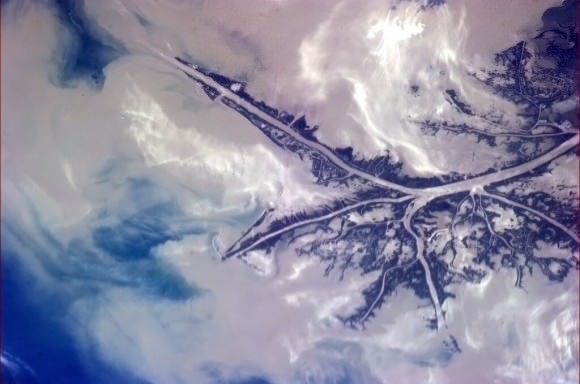
The Mississippi delta deposits “the soil of America’s heartland” into the Gulf of Mexico (NASA)
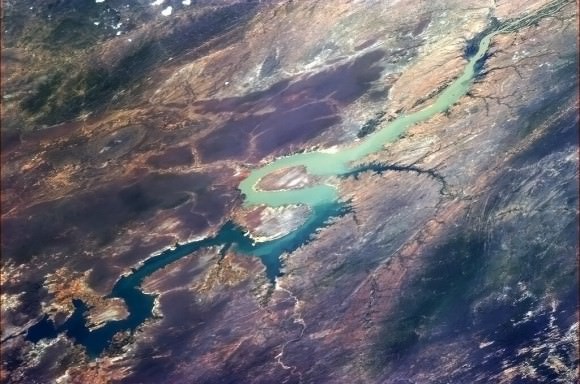
“It’s a bird, it’s a plane… it’s a river in South America!” tweeted Hadfield. (Actually it’s looking west along the Rio São Francisco river in Brazil.) NASA
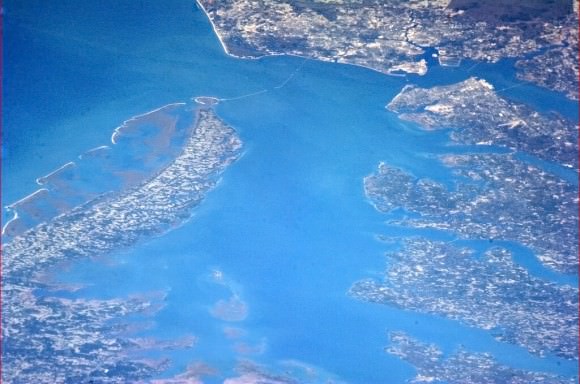
Chesapeake Bay from orbit. “You can even see the causeway,” Hadfield noted. (NASA)
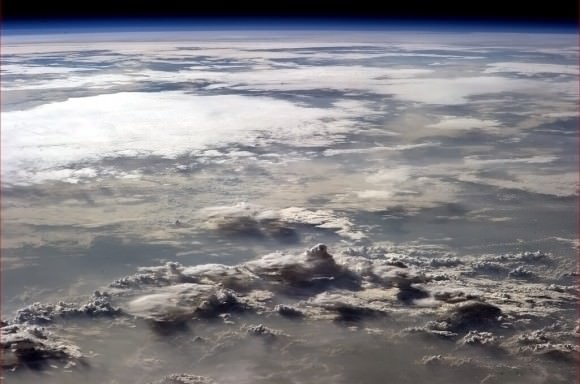
On Feb. 2, Hadfield took this photo of storm clouds over Africa. “My breath was taken away,” he wrote. (NASA)
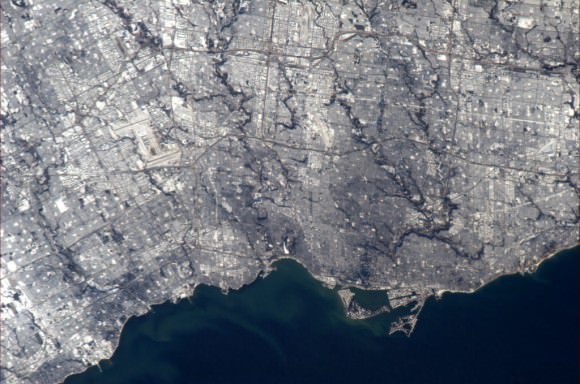
Toronto on the shore of Lake Ontario, “Canada’s most populous city” (NASA)
Want to see more of Chris Hadfield’s images from orbit? Follow him on Twitter and Facebook and over on Google+. (Just don’t be surprised if you find yourself changing your desktop background a lot more often!)
And for even more space adventures, tune in to the CSA website on February 7 at 10:30 a.m. EST when Col. Hadfield will have a live chat with William Shatner, building upon their brief (but immensely popular) impromptu web conversation from last month. He’ll also be taking questions from “space tweeps” on-site at CSA.
Fires in the Sky: Aurorae and Meteor Photo by Ole Salomonsen
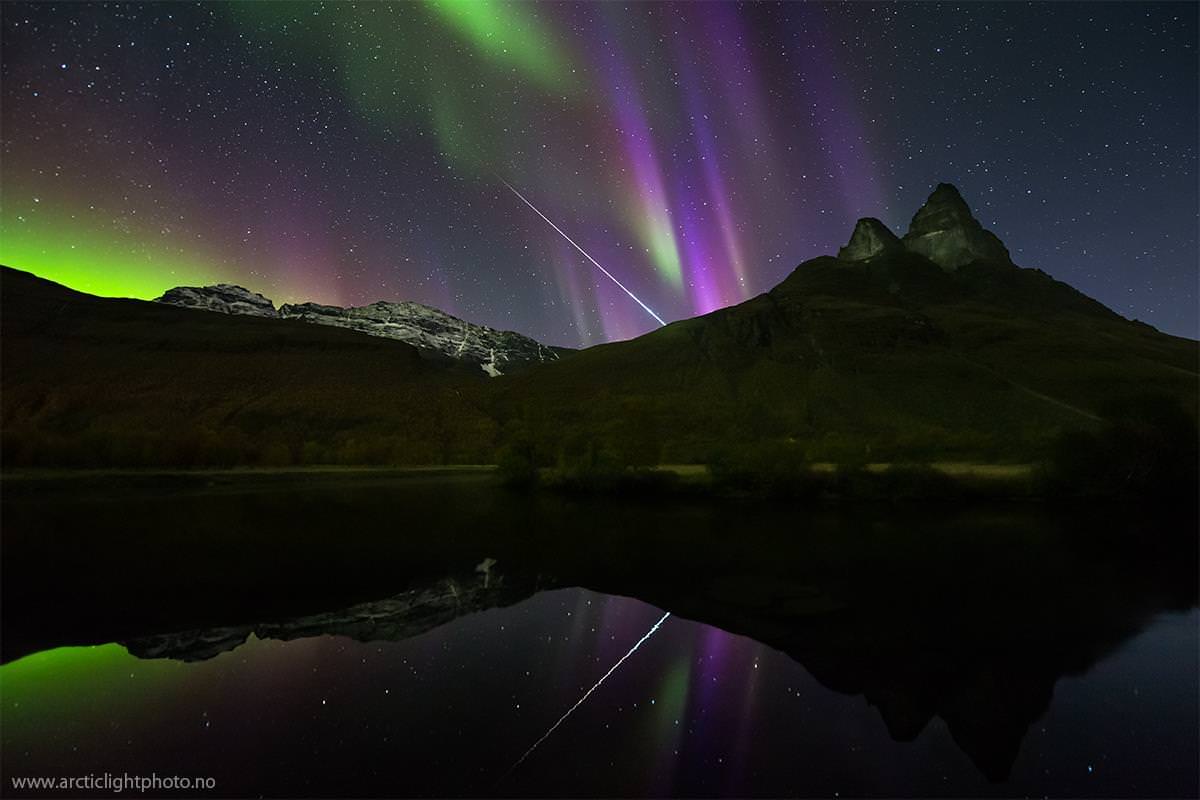
A bright fireball slashes through curtains of aurorae shimmering above the mountains of northern Norway, captured on camera by Ole C. Salomonsen in the early hours of September 20.
Salomonsen, a master at photographing the Northern Lights, says this was the biggest fireball he’s ever caught on camera.
“The fireball lasted for about 6-7 seconds until it vanished behind the mountain,” Ole recalls. “By the way, this mountain is over 1350 meters (4440 feet) high, and I am standing only 600 meters from the foot of it, so do not be fooled by the 14mm wide angle lens! There was some very distinguished blue colors surrounding the fireballs edges. Never ever seen anything big like this!”
The mountain at right is called “Otertinden”, and is about a 90 minute drive north of Tromsø, Norway — a hot spot for stunning auroral displays.
And if you’re wondering if the aurorae and the meteor are really in the same region of the atmosphere, well, they likely are. Incoming meteoroids begin to glow at around 70 to 100 km up, which is also about the same altitude that aurorae are visible.
Although Ole stated that this wasn’t the best aurora photo from the shoot, the fireball and its reflection in the still river made him feel this one “deserved to go first.”
The photo was taken with a Canon EOS 1D-X and a Nikon 14-24mm lens.
See more of Ole’s work on his website, www.arcticlightphoto.no, and you can like his page on Facebook here. (Also he’s got a couple of great time-lapse videos too!)
Image © Ole C. Salomonsen. All rights reserved. Used with permission.

